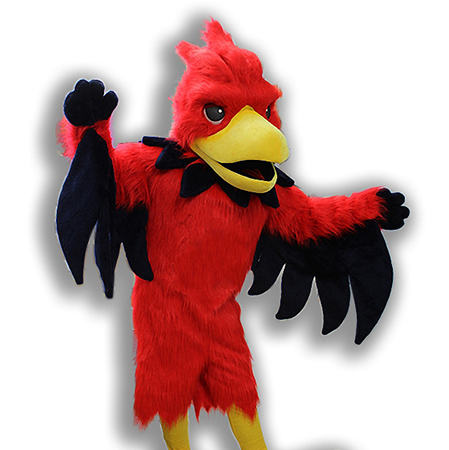
developing an inflatable mascot costume can be a amusing and innovative venture, whether it’s for a college event, sports crew, or corporate feature. This step-by using-step manual will stroll you through the system of creating your personal inflatable mascot costume from scratch.
materials wanted:
% or Nylon material
Air Blower with Hose
Zippers or Velcro
sewing machine
Thread
fabric Glue
layout sample or Reference image
Markers or Chalk
Scissors
Measuring Tape
Paint (optional)
Stuffing cloth (for details)
Step 1: layout Your Mascot
begin with the aid of sketching out your design on paper. do not forget the individual’s capabilities, inclusive of head shape, frame proportions, and any distinct attributes to be able to make your mascot easily recognizable. A well-idea-out design will function the blueprint to your dress.
Step 2: Create a sample
the usage of your layout, create a pattern out of big sheets of paper or butcher paper. make certain to include all components of the costume—head, frame, palms, and legs. upload seam allowances around the edges, commonly approximately 1⁄2 inch, to make certain the portions in shape together efficaciously when sewn.
Step three: reduce fabric
Lay your cloth flat on a easy floor and pin your patterns onto it. the use of sharp scissors, cautiously cut out all of the pieces of the dress following the outlines of your sample. take into account to label every piece so that you can reassemble them without problems later.
Step 4: bring together the portions
start by using stitching the smaller elements like the head and fingers collectively first. Use a strong sew to make sure durability. as soon as those are whole, pass on to the bigger sections, including the body. Pay unique interest to corners and curves to maintain the integrity of your layout.
Step 5: upload Zippers or Velcro
include zippers or Velcro strips into the openings wherein essential. this may be at the back of the gown for easy get right of entry to inside and out, or along seams that want to open for maintenance or cleaning. make certain those closures are comfortable but also simple sufficient to function quickly for the duration of events.
Step 6: attach the Blower
select a suitable air blower in your inflatable gown. the scale and energy rely on the scale of your mascot. Securely attach the hose to the distinct spot within the gown using either cloth glue or by using stitching it in place. make certain there aren’t any leaks that might reason deflation.
Step 7: Inflate and take a look at
before finalizing the entirety, take a look at inflate your gown. area the blower interior and turn it on, checking for any vulnerable spots or areas where air might get away. Make any important changes or reinforcements earlier than intending.
Step eight: finishing Touches
in the end, upload any finishing touches including portray facial capabilities or adding stuffed info to enhance the arrival of your mascot. ensure all paint is dry and set earlier than use to save you smudging or shade transfer onto clothes.
Step nine: upkeep tips
To hold your inflatable mascot dress searching its pleasant, frequently test for any put on and tear, specially round excessive-pressure areas like joints and seams. smooth gently with slight soap and water, heading off harsh chemicals that might harm the fabric. keep in a groovy, dry location while not in use to extend its lifespan.
by following those steps, you’ll have a completely unique and inflatable mascot dress equipped for any occasion! bear in mind, patience and creativity are key elements for the duration of this DIY journey. enjoy bringing your mascot to life!